

Gather your supplies:

- Jump Rings 10 mm (found in the jewelry making supplies section of your craft store).
- Glass beads (I used a 3 oz. assortment pack)
- Glue that dries clear. You can use metal/glass glue, but I just used what I had around the house
- Optional: toothpick, waxed paper to cover your work surface
 |
| Open jump ring front and back so circle is not distorted (do not open by pulling apart). |
 |
| Slide on a bead (or more than one if you prefer) |
 |
| Put ends of jump ring back together, and add a drop of glue over the join. |
 |
| You can use a toothpick to apply glue if you like. Slide bead over glue and join, and let dry. |
 |
Make a bunch in various colors of jump rings and beads.
You can also use size 9mm jump rings if you like.
|
I am going to show you how to make the adorable ladybug stitch markers.
You can find all kinds of beads at Michael's, or other craft supply stores.
Gather your supplies. You need:
- 26 gauge copper wire
- wire cutter
- needle nose pliers
- crimp beads
- main bead for your stitch marker
- pencil.

 |
| Cut a piece of wire about 3" long |
 |
| Wrap twice around a pencil with both ends hanging even |
 |
| Thread wires through large bead. |
 | |||
| Thread wires through crimp bead. |
Squeeze with pliers until bead flattens, encasing the wire.
Cut off any exposed wire at end.
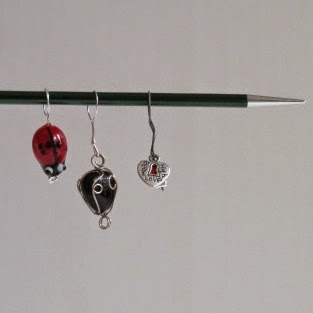
Cute, and Ready for Action.

I hope you enjoy making your own stitch markers. You just might get addicted!

Happy Crafting♥

No comments:
Post a Comment