Showing posts with label tutorial. Show all posts

Friday, November 6, 2015

Totally Tutorials - Favorite Posts Part II

So many wonderful tutorials have been shared on my sister blog (Totally Tutorials) that it is hard to choose ones to share with you.  Following are a few of my favorites, in no particular order:

from LDP Blog
Turn an old unused book into a lovely planter 


Fabric Covered Foam Containers
from Hands On Workshop Blog
Lightweight containers handy for holding small items


Sketchbook Pouch
from Handmade Harbour Blog

 Carry your sketchpad and pencils along wherever you go


Craft Lace Bracelet
by The Craft Caboodle Blog

Make a pretty bracelet with inexpensive plastic lace


Reversible Girl's Jumper
by Blooms and Bugs Blog
 Not only is this easy to sew,but is also easy for the child to dress herself


I hope you've enjoyed this brief tour of some tutorials that have been featured over the years.  See hundreds more at Totally Tutorials.

Happy Crafting♥
 

Monday, August 10, 2015

Totally Tutorials - Favorite Posts Part I

My sister blog - Totally Tutorials has featured over 5,000 fun, helpful, and amazing tutorials in the 7 years it has been in operation.  In celebration, I have chosen a few of my favorites from over the years to share.

 from SusaWeaving Blog

https://susaweaving.wordpress.com/2015/07/08/weaving-is-for-everyone-how-to-build-a-cardboard-and-bamboo-4-shaft-weaving-loom/

from Crafts Alamode Blog


by Make 52 Blog


from Crafty Staci Blog


by Food, Wine, and Modge Podge Blog


by Just Something I Made Blog


from Yours Truly as Shared on the Saturday Evening Post Blog

Look for more favorites in Part II of Totally Tutorials - Favorite Posts.

If you have a tutorial you would like to share from your blog, use the form here to submit your  post.  Of course it will be linked back to your blog, and you will receive increased traffic from our many readers.

And, if you are not already following Totally Tutorials, please do.

Happy Crafting♥

Friday, June 5, 2015

Totally Tutorials Update

Here are a few tutorials that have been on Totally Tutorials recently.


Check my sister blog out for a collection of tips, tricks, tutorials and how-tos on a wide variety of subjects.

Happy Crafting♥

Saturday, August 16, 2014

Tutorial: Simple Stitch Markers

Make pretty and practical stitch markers for yourself, or as a thoughtful gift for knitting friends.  All you will need for this style is jump rings, beads, and glue. 


Gather your supplies:


  • Jump Rings 10 mm (found in the jewelry making supplies section of your craft store).
  • Glass beads (I used a 3 oz. assortment pack)
  • Glue that dries clear.  You can use metal/glass glue, but I just used what I had around the house
  • Optional: toothpick, waxed paper to cover your work surface

Open jump ring front and back so circle is not distorted (do not open by pulling apart).

Slide on a bead (or more than one if you prefer)
Put ends of jump ring back together, and add a drop of glue over the join.

You can use a toothpick to apply glue if you like.  Slide bead over glue and join, and let dry.
Make a bunch in various colors of jump rings and beads.
  You can also use size 9mm jump rings if you like.

 The next stitch marker has just a few more steps and supplies, but is still super easy to make.

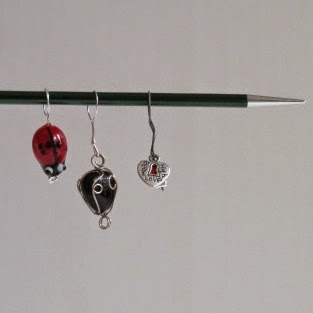
I am going to show you how to make the adorable ladybug stitch markers.
  You can find all kinds of beads at Michael's, or other craft supply stores. 


Gather your supplies.  You need:
  • 26 gauge copper wire
  • wire cutter
  • needle nose pliers
  • crimp beads
  • main bead for your stitch marker
  • pencil. 


Cut a piece of wire about 3" long

Wrap twice around a pencil with both ends hanging even

Thread wires through large bead.

Thread wires through crimp bead.
  
 Squeeze with pliers until bead flattens, encasing the wire.  
Cut off any exposed wire at end.

Cute, and Ready for Action.


I hope you enjoy making your own stitch markers.  You just might get addicted!


Happy Crafting♥

Sunday, December 8, 2013

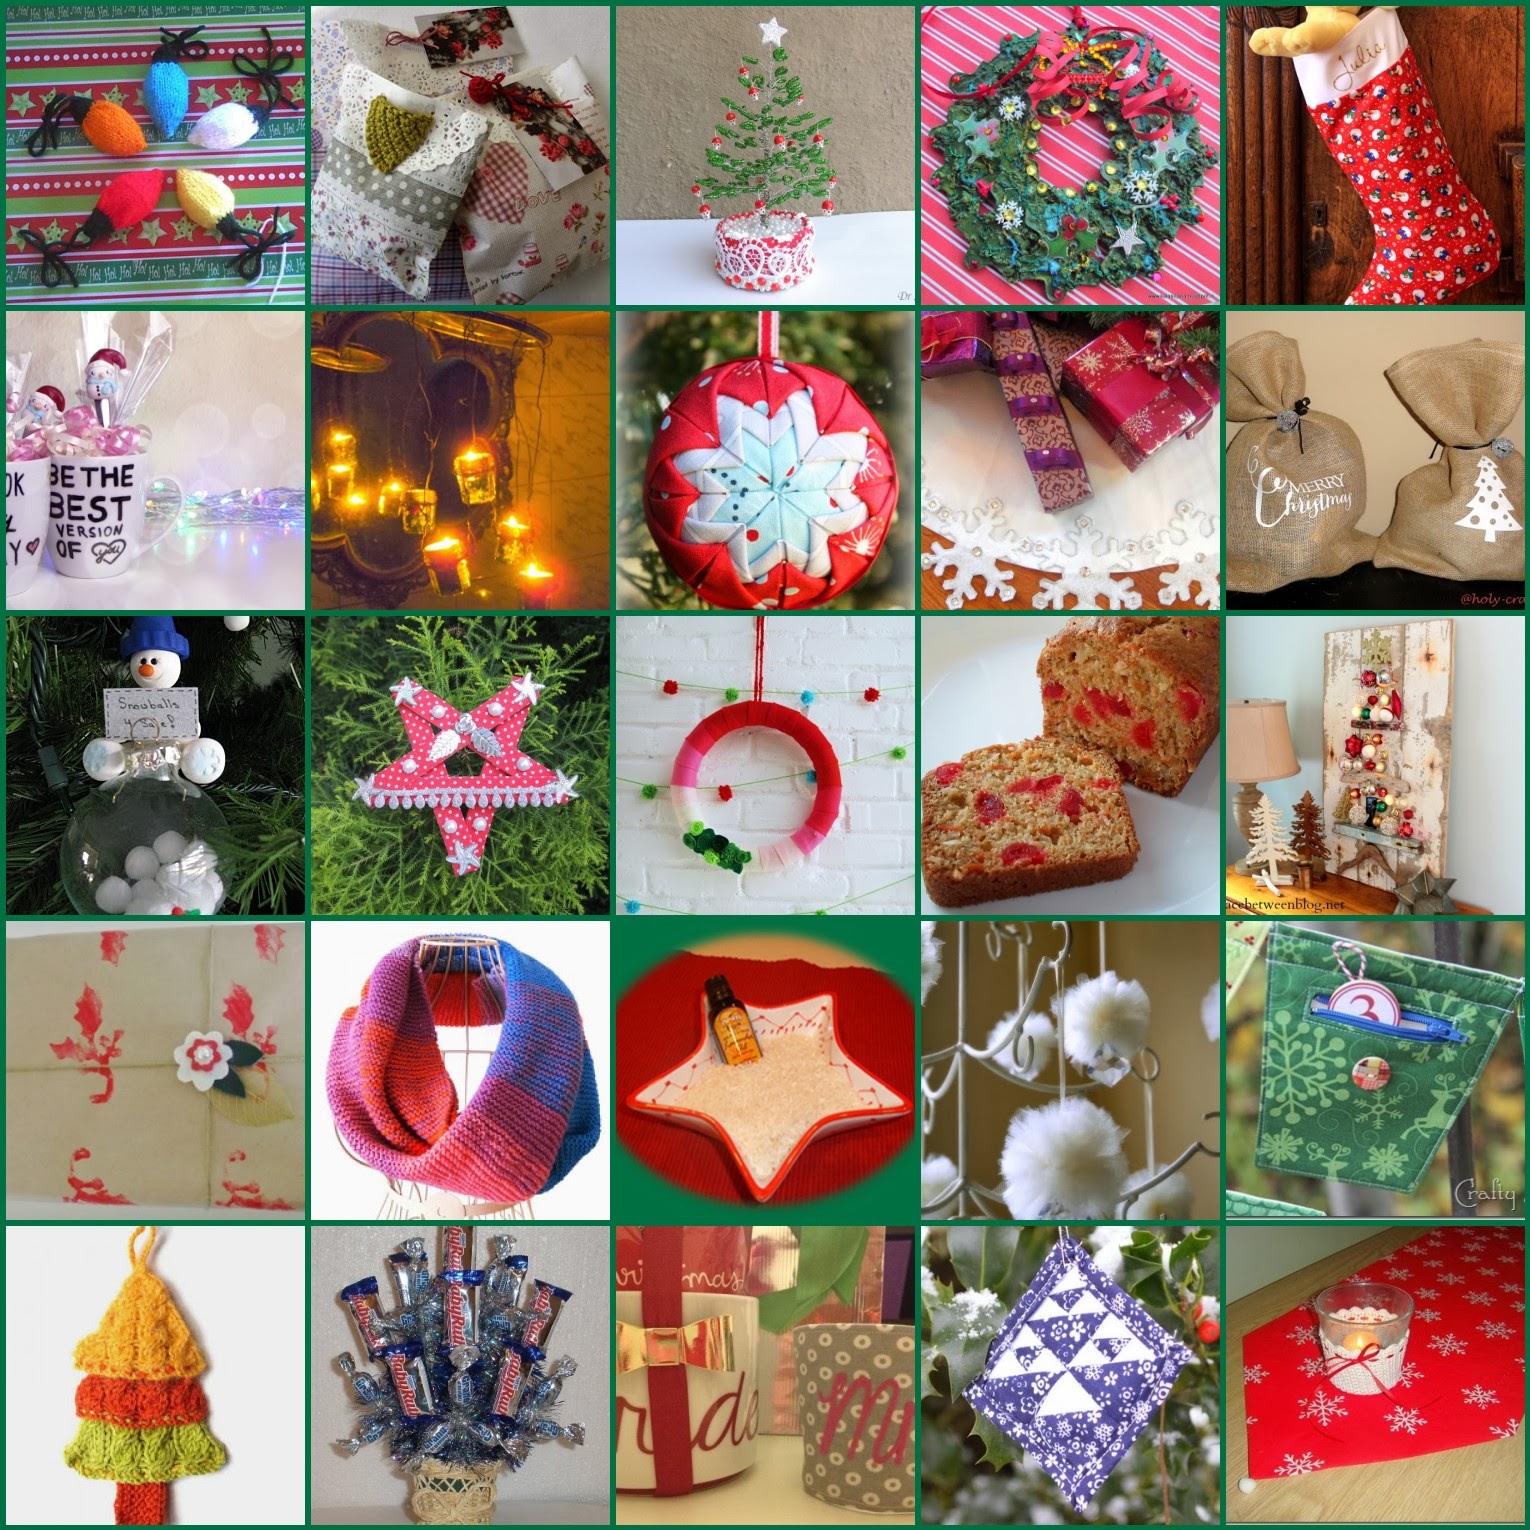
Holiday Gift and Decorating Ideas from Totally Tutorials

Christmas tutorials available on Totally Tutorials.


Tutorials on how to make these items have either recently been featured
 on Totally Tutorials, or will be coming up during this month.

Happy Crafting ♥

Saturday, November 30, 2013

Tutorial Exchange Opportunity - The Quilting Block Book

Do you love quilting, or have you always wanted to learn how?  My sister blog Totally Tutorials, is providing an opportunity to receive The Quilt Block Book by Nancy Wick to one crafter FREE.  Packed with photographs and diagrams for 75 quilt blocks, The Quilt Block Book offers something for both the beginner and experienced quilter.  

If you would like to make and share a tutorial using this book as inspiration, apply for the opportunity by leaving a comment on the Totally Tutorials post. 
  
Read more about this opportunity HERE.

Happy Crafting ~

Tuesday, July 16, 2013

Charm Square Scrappy Binding Tutorial

Last week, I finished my Dancing Spools Quilt.  Y ou can watch a video tutorial on how to do the Bobbin quilting design here.  The pattern for the quilt will be available in my Craftsy pattern shop soon.


In this post, I will show you how to make scrappy binding from charm squares. 

My quilt is wall size - approximately 36" square.  It took 15 five inch squares (cut in half, and joined) to make it around the circumference.  If your quilt is larger, you will need more squares.    To get a rough estimate of how many charms you will need, calculate how many inches your quilt is around.  Divide this number by 5" (the length of each charm), and then divide that number in half (since you will get two lengths out of each charm). 


The calculations for my quilt are as follows:
36 x 4 = 144"
144" / 5" = 28.8
28.8 / 2 = 14.4
Rounded to 15 for the number of charms needed to bind the quilt.

Since this is a rough estimate, it is good to have a few extra charms, just in case your calculations fall short.  I actually ended up with a few charms leftover.

So here are the very simple directions for making your scrappy binding:

Leftover charm squares from the Dancing Spools project

Cut charms in 1/2 (2/2" x 5").  Here they are stacked next to my serger, ready to sew.
 You can also do this on a regular sewing machine.

Join two randomly selected strips right sides together
Join pairs with each other.  Continue joining until all strips have been sewn together.

Resulting 2 1/2" wide binding

Fold long wrong sides together and press

Scrappy double fold quilt binding ready to be sewn onto your quilt

Directions for sewing the binding onto your quilt are in The Perfect Finish Binding Tutorial I did previously.  Of course, you can use this idea to make scrappy binding from your stash as well. 


Happy Quilting ♥

Tuesday, July 9, 2013

Bobbin Quilting Motif Tutorial

Last week I posted about a Bobbin quilting motif that I designed for my Dancing Spools Quilt.

Here is a video tutorial on how to free motion quilt both a full and an empty bobbin.  A couple of things to keep in mind when quilting this design:

Try and start the designs on the left, and move toward the right whenever possible.  (That is, if you are right handed.  Lefties do just the opposite.)

Orient the spools in various directions in your space to add interest.

Connect the bobbins with a winding thread that loops and twists to fill the rest of the quilting space.  

Of course, you can make these bobbins as large, or as small as you like.  The ones in the video are are about 3/4."


If you try this quilting design, and have some other tips, please share them here.

Happy Quilting ♥

Saturday, May 11, 2013

Totally Tutorials

Here are just a few tutorials that have been posted on Totally Tutorials recently:


The best part is that they are all free!
Check these out, and hundreds more, by clicking here.

Happy Crafting,


Saturday, May 4, 2013

Free Crafting Courses

It is not news that I like the Craftsy platform.  I even sell a few patterns on their site.  One of the things I like best is the free courses they offer.  Here are a couple of my favorites:

Know Your Wool It sounds boring, but I really got a kick out of learning about different kinds of wool, and found the instructor's passion for the subject contagious.  I would even say this course is why I tried knitting again after so many years.

Creative Quilt Backs  I really enjoyed this class too.  It shows how to make the back of quilts as fun as the front, and sparks all kinds of ideas to make your next quilt back more interesting.

You can check out other Craftsy mini-courses by clicking here, and the best part is that they are all FREE!